Assets
Assets are your PNG, PSD, Aseprite files. Sometimes referred to as Raw Assets in the documentation as well.
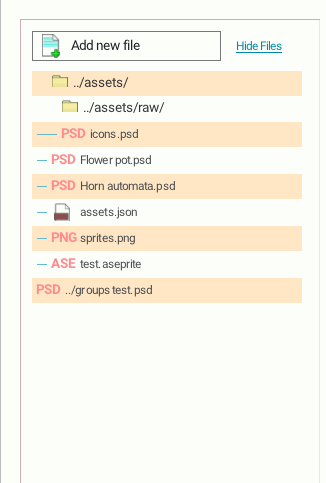
Each entry in the list shows the name you gave the asset as well as its path.
Each asset contains one or more Layers
Raw Asset Settings

Refreshing an asset
If you edit your asset while Cute Exporter is open. You can refresh the asset to show the new changes. Click the Refresh icon in the top right of the asset detail view.
Removing an asset
To remove an asset from your project click the trash can icon in the top right of the asset detail view. A confirmation modal will pop up. Click Remove File to confirm and remove the file from your project.
Name
Name of the Asset. Not currently exported into the JSON file useful for your own reference. This is the name used in the asset list sidebar.
Default Layer Output Size
The output size is the resolution the exporter will resize the layers in this asset to when placing them into the texture atlas. Setting this value will apply the same resizing to each layer in the asset if that layer does not have an output size set on it already.
Output size can be defined in a few different ways.
- A percentage e.g.
75%.
- Width and height e.g
200x300.
- Just width or just height this will preserve aspect ratio
- Examples:
x200will make the height 200px and the width will be resized to the correct aspect.
200xwill make the width 200px and the height will be resized to the correct aspect.
Trim Layers
Checking this box will trim the alpha around layers in this asset. It will override Trim Alpha value set in the Project Settings for this asset.
Merge Layers
On a PSD this setting will merge all the layers in the image into a single image when exported.
On an Aseprite file this setting will merge all layers in a frame into a single image when exported.
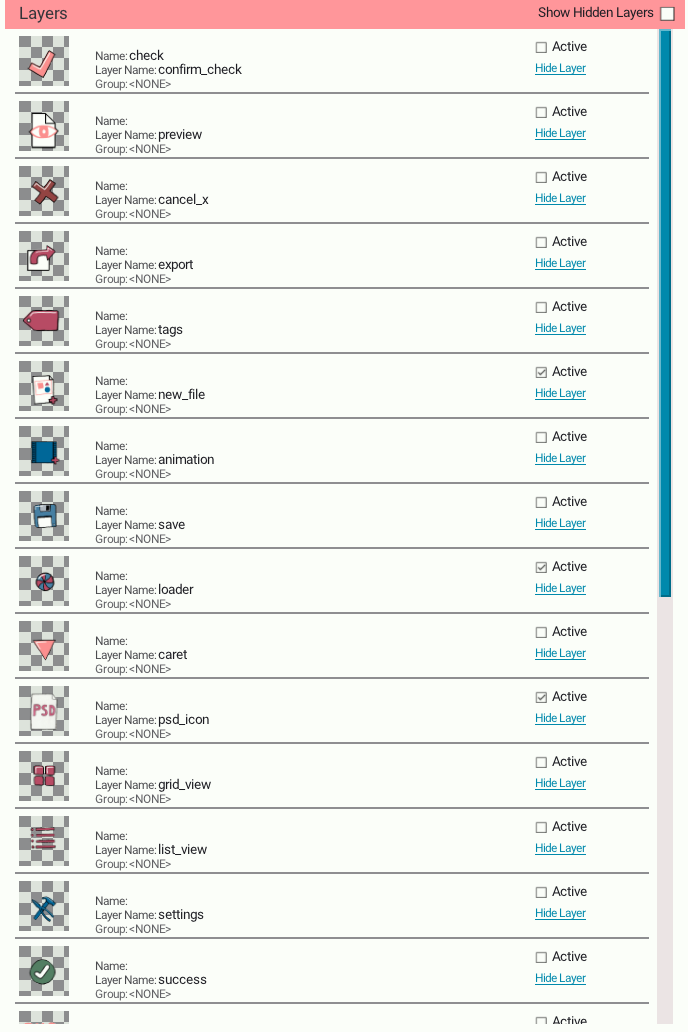
Layers
Below the information about the asset is a list of its layers. If the parent file doesn't merge all layers you can click on an individual layer to see and edit info about it. If all layers are merged in the parent asset the right side will show info about the merged image.
Related Articles